How to Print Stickers
Rongrong DeVoePrinting stickers at home is one of the most rewarding ways to personalize planners, journals, and creative projects. Many people want to learn how to print stickers but aren't sure where to start or what materials to use.
From our experience, the process is much simpler than it seems once you understand the basics. It's all about choosing the right digital files, preparing them correctly, and using quality sticker paper with the right printer settings.
In this guide, we'll walk through each step of printing digital stickers at home, share tips on picking the best paper, and cover how to avoid common mistakes that can affect your results.
What this article covers:
- How to Print Digital Stickers Yourself
- How to Choose Paper for Your Stickers
- Tips for Avoiding Common Sticker Printing Mistakes
How to Print Digital Stickers Yourself
If you're wondering where to print stickers, then there's good news! You can do so right at home.
Printing digital stickers at home can feel like a big task at first, but it's really just a few simple steps once you know what to do. This section breaks down the entire process so you can confidently print, cut, and use your stickers without frustration or wasted materials:
Step 1: Choose and Download Your Stickers
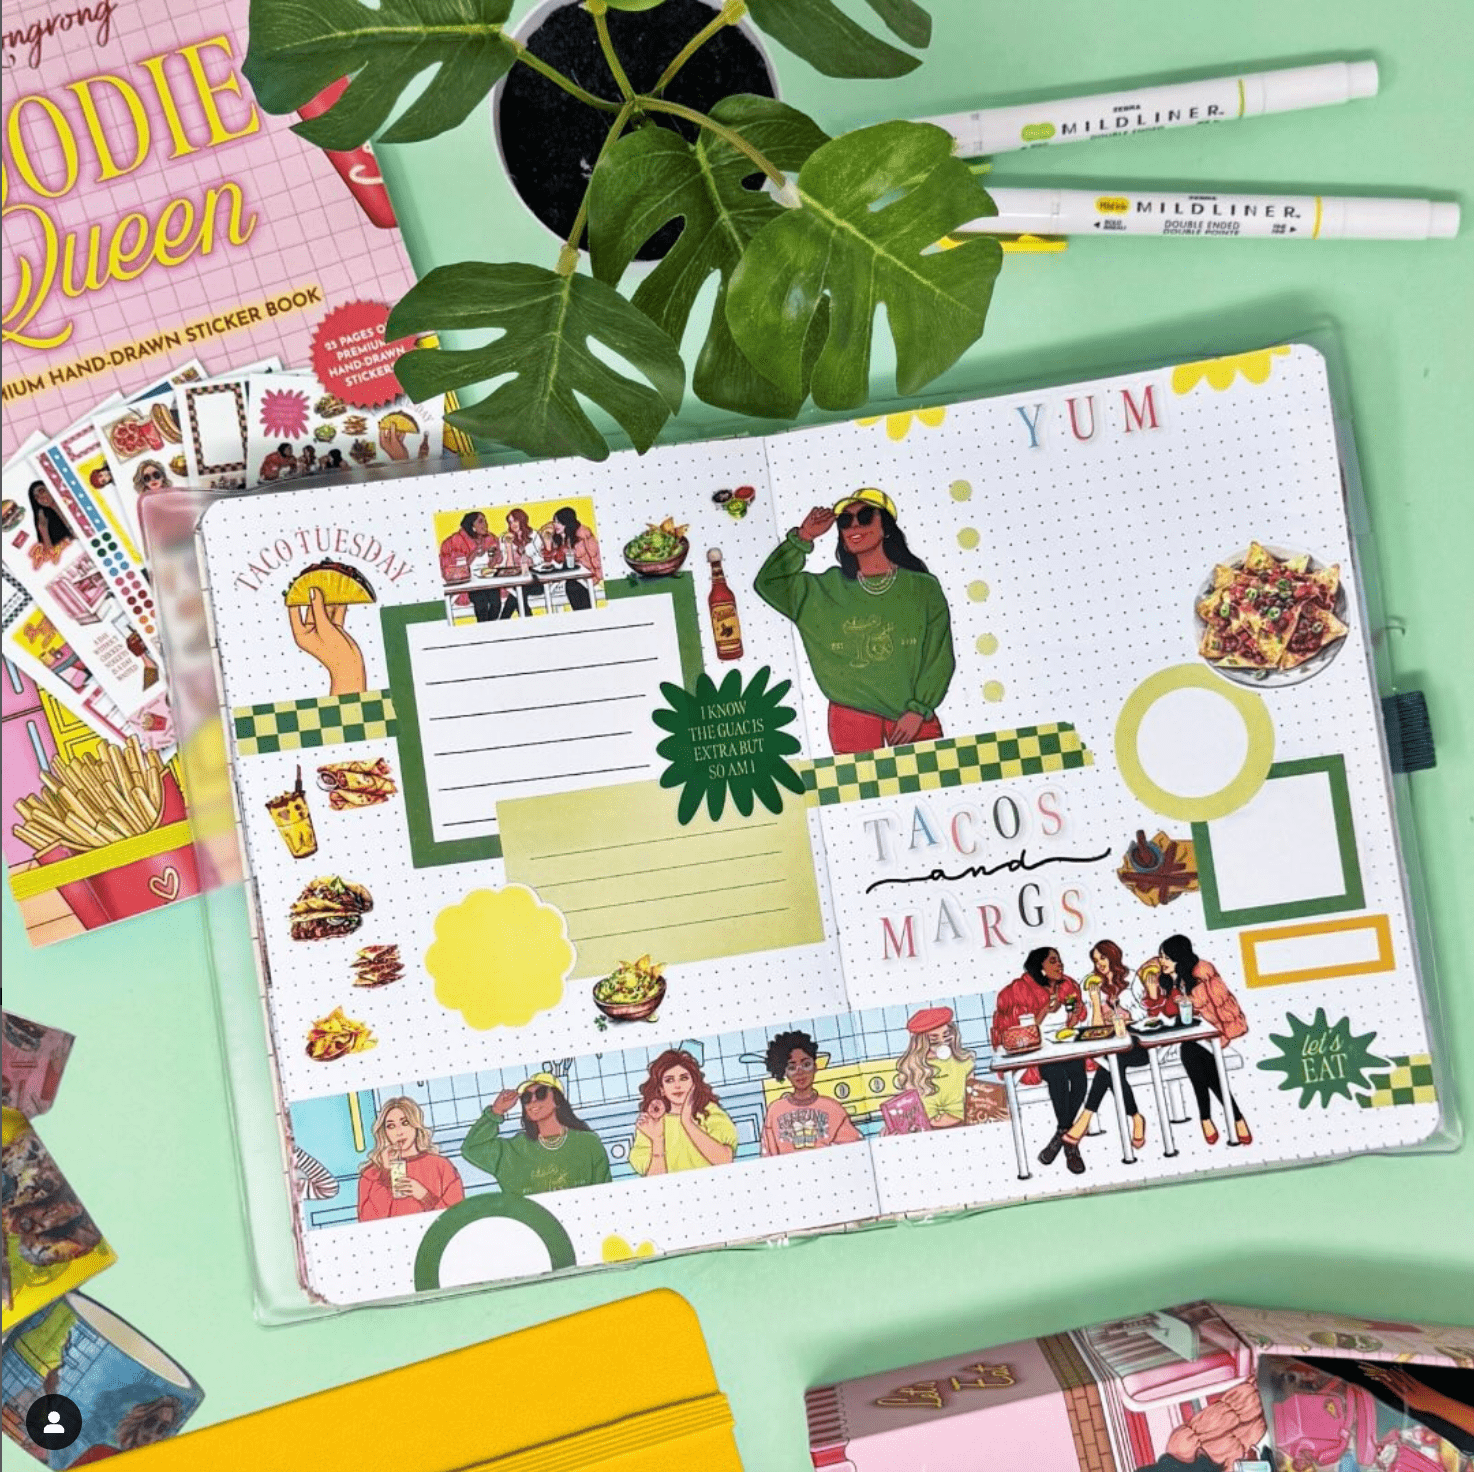
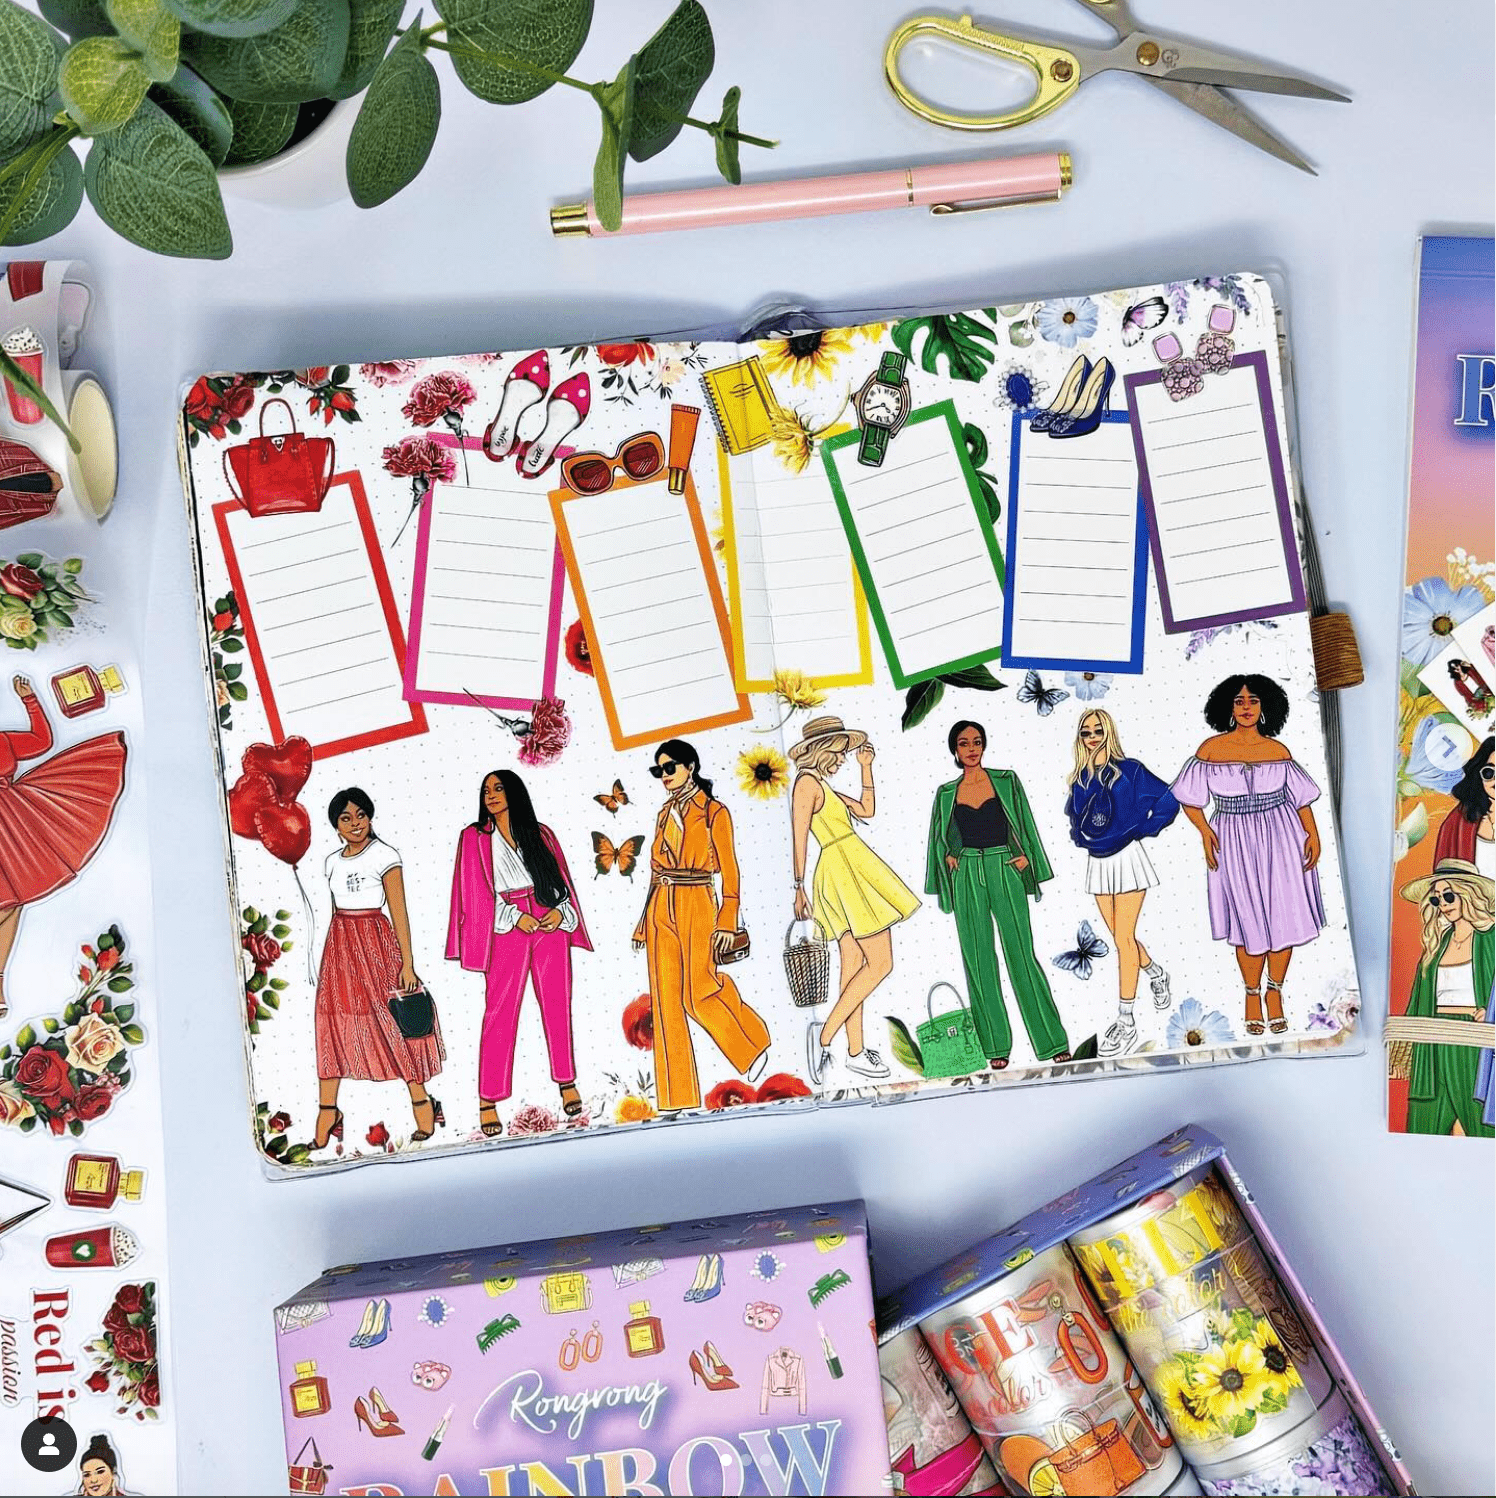
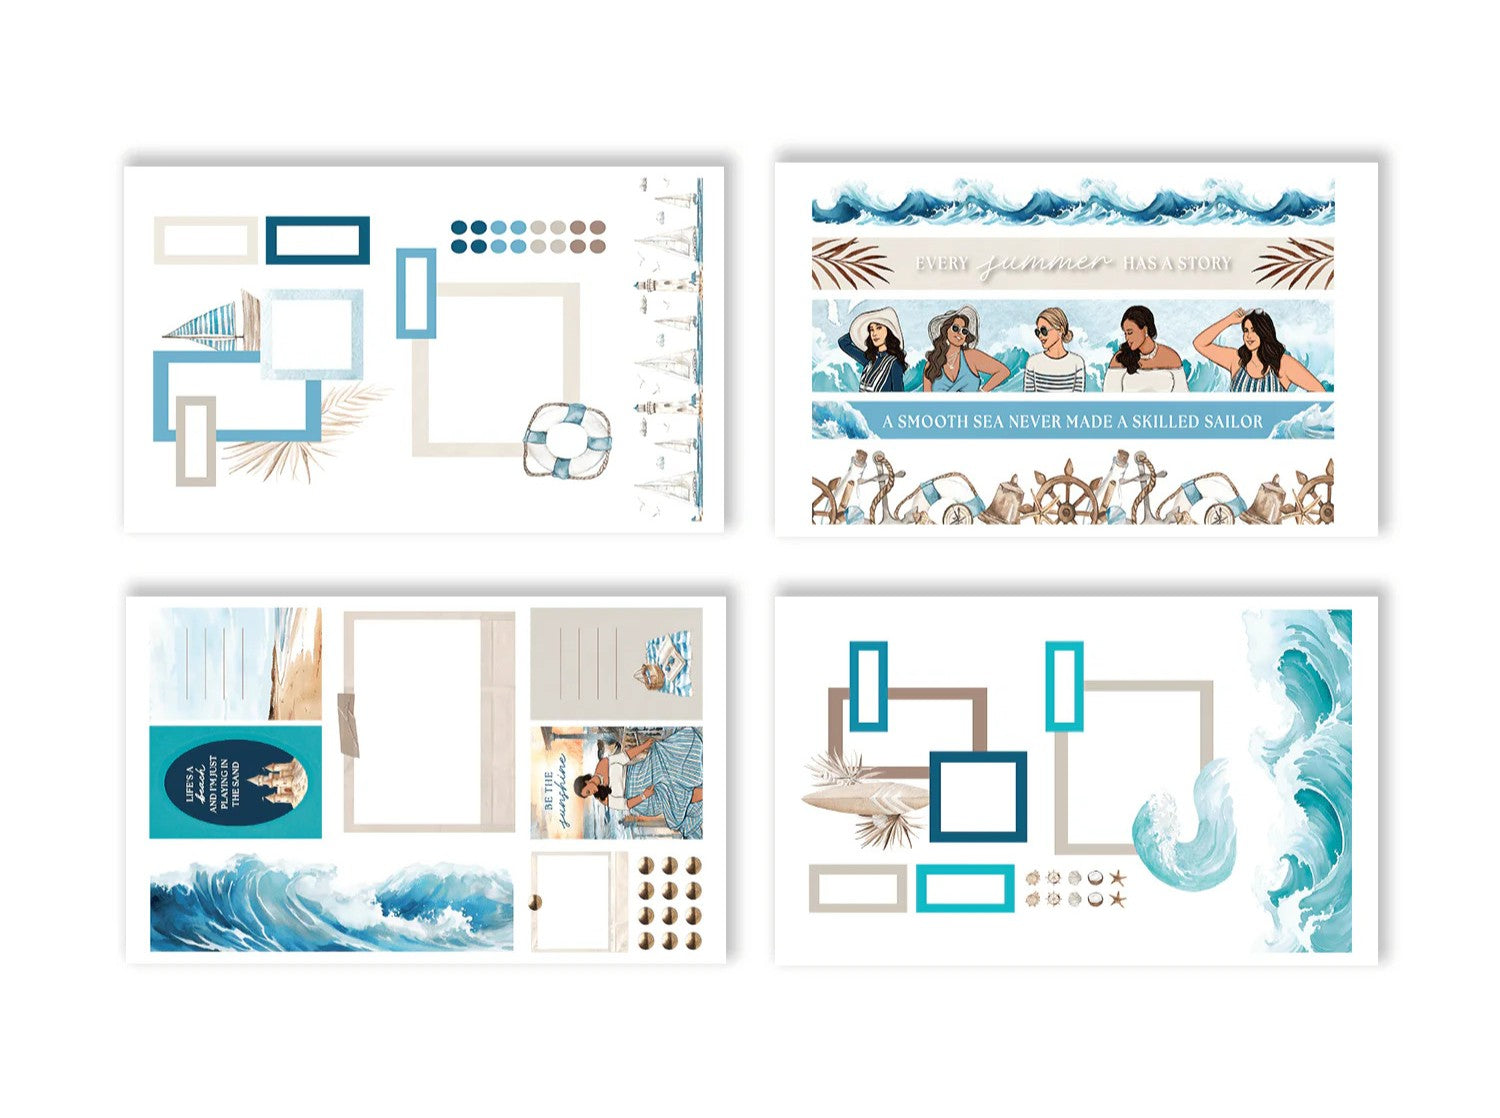
Start by picking your favorite digital stickers. At Rongrong, we offer aesthetic printable stickers that are ready to print and cut at home.
Choose the themes, colors, and designs that fit your style or project, then download the files to your computer. Save them somewhere easy to find, like your desktop or a “Stickers” folder.

Step 2: Open and Prepare Your Sticker File
Once you've downloaded your stickers, open the file on your computer. You can use a simple viewer like Adobe Acrobat for PDFs or standard photo software for PNGs.
Make sure the page size matches your printer's paper setting, typically Letter (8.5 x 11 inches) or A4. If your stickers come on multiple pages, preview each one to confirm the designs are correctly aligned and scaled. Avoid resizing the file.
Step 3: Select and Load Sticker Paper
Next, it's time to pick the right paper. Use high-quality sticker paper designed for your printer type, whether it's inkjet or laser. The wrong type can cause smudging or dull colors.
Choose between matte, glossy, or clear finishes depending on your project's look. Matte paper gives a soft, elegant appearance, while glossy paper brings out bold colors. Once you've picked your paper, load a single sheet into your printer's tray. Make sure the printable side (usually shinier or smoother) faces the correct direction.
Step 4: Adjust Your Printer Settings
Before printing, open your printer's settings menu. Select the highest quality print option available and choose a paper type closest to your sticker paper, for example, “labels” or “photo paper.” Make sure your document orientation matches your file (portrait or landscape).
If your printer supports borderless printing, you can enable it for a full-page design. We always recommend doing a quick test print on regular paper first to confirm the alignment and colors before using your sticker sheets.

Step 5: Print Your Stickers
Now for the exciting part - printing! Once you're satisfied with the test print, insert your sticker paper and start printing. Let the page come out fully before touching it.
Depending on your printer and ink, drying can take anywhere from a few minutes to half an hour. Avoid stacking freshly printed sheets on top of each other to prevent smudges.
Step 6: Cut Out Your Stickers
After the ink is dry, you can start cutting. For simple shapes, a good pair of scissors works fine. For straight edges, use a paper trimmer.
If you prefer precision or more detailed cuts, a cutting machine like Cricut or Silhouette will give you clean, professional results. From our experience, using a cutting machine is especially helpful for large batches or intricate designs.
Step 7: Seal or Laminate Your Stickers (Optional)
If you want your stickers to last longer, consider adding a protective finish. Clear laminating sheets or spray sealants work well to resist water, sunlight, and wear.
Just make sure the ink is completely dry before sealing, or you risk smearing the colors. Once sealed, trim the edges again if needed, and your stickers are ready to use!

How to Choose Paper for Your Stickers
The type of paper you choose can completely change how your stickers look and feel. From our experience, great printing starts with great materials. Each kind of sticker paper offers different textures, finishes, and levels of durability.
Let's break down the key things to consider so you can find the best sticker paper for your project.
1. Printer Compatibility
This is the first thing to check before printing. Always match your sticker paper to your printer type: inkjet paper for inkjet printers and laser paper for laser printers. The ink formulas and heat levels differ, and using the wrong kind can cause smudging or faded colors. It's worth checking the packaging to make sure your paper and printer are a perfect pair.
2. Finish
The finish determines the overall look of your stickers. Matte paper gives a smooth, modern look that's easy to write on, which makes it ideal for planners and journals.
Glossy paper, on the other hand, enhances color vibrancy and adds a polished shine. If you love a sleek, reflective finish, this one's for you.
Clear paper is the best when you want your design to blend seamlessly with the surface, like glass jars, bottles, or laptop covers.
3. Durability
If you plan to use your stickers outdoors or on items that get handled often, durability matters. Look for waterproof or weatherproof options made from vinyl or polyester. These materials resist moisture and fading, keeping your designs fresh and bold longer.
For stickers that will stay indoors, standard paper types usually hold up just fine.

4. Adhesive Type
Different adhesives work better for different uses. Permanent adhesive keeps your stickers firmly in place and is great for projects like mailing labels or product packaging.
Repositionable adhesive gives you flexibility if you want to move or adjust your stickers, such as in planners or scrapbooks. From our experience, having both on hand can make crafting a lot more versatile.
5. Thickness
Sticker paper thickness affects both the feel and how your printer handles it. Thicker sheets often feel more premium and cut cleanly, but some printers struggle to feed them properly. Thinner sheets print easily and bend smoothly, but can be harder to peel.
Always check your printer's manual to find its recommended paper weight range before printing.
Tips for Avoiding Common Sticker Printing Mistakes
Even experienced crafters hit a few snags. Here's how to steer clear of the most common issues:
- Skipping a test print: Always print on plain paper first to check color and alignment.
- Wrong paper orientation: Double-check which side is printable before inserting the sheet.
- Touching wet ink: Give your stickers enough drying time to avoid smudges.
- Low-resolution files: Use high-quality digital sticker files for sharp results.
- Clogged print heads: Clean your printer regularly to maintain even color coverage.
- Cutting too soon: Wait until your stickers are completely dry before trimming or sealing.
- Overcrowded designs: Leave space between stickers so they're easier to cut neatly.
After years in the industry, we've found that patience and small test runs save more paper (and frustration) than anything else.

Conclusion
Printing stickers at home is a simple and rewarding way to bring creativity into your everyday projects. Once you understand the basics, it all comes down to using high-quality digital files, the right paper, and printer settings that suit your setup. A few small adjustments can make your stickers look polished and professional. With a little practice, you'll be able to print beautiful designs that match your personal style and purpose.
For ready-to-print digital sticker collections that make the process even easier, explore our printable sticker designs at Shop Rongrong and start creating your own stunning sticker sheets today.